

How to Sew the Crow's Nest Quilt Block, an Easy, Traditional Variation of the Monkey Wrench Block
Posted by Elaine Huff on
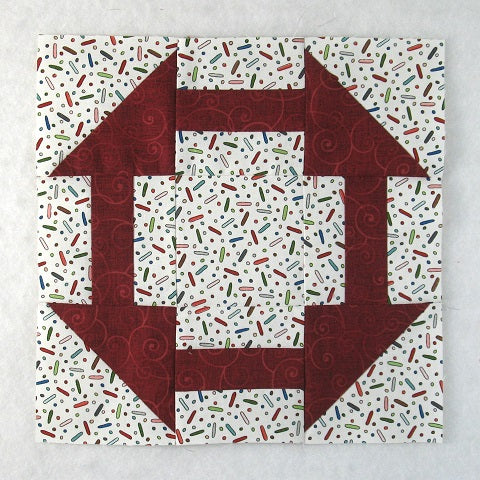
Today let's learn how to sew the Crow's Nest quilt block. This charming block is beginner-friendly as it is made entirely of Half Square Triangle, rectangles and one square - super quick to create. Let's get started!

Fabric Requirements for a 9" Finished Crow's Nest Quilt Block:
- Light: 2 - 4" squares, 1 - 3.5" square, and 8 - 1.5" x 3.5" rectangles
- Dark: 2 - 4" squares, and 4 - 1.5" x 3.5" rectangles

Sewing Directions:
Half Square Triangle Units:
Step 1:
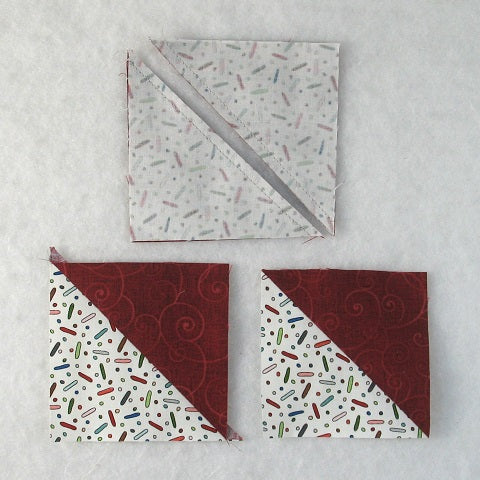
Step 2:

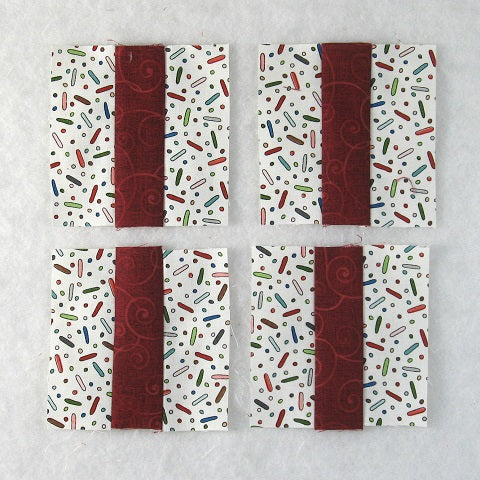
Roman Stripe Units:
Step 3:

Step 4:

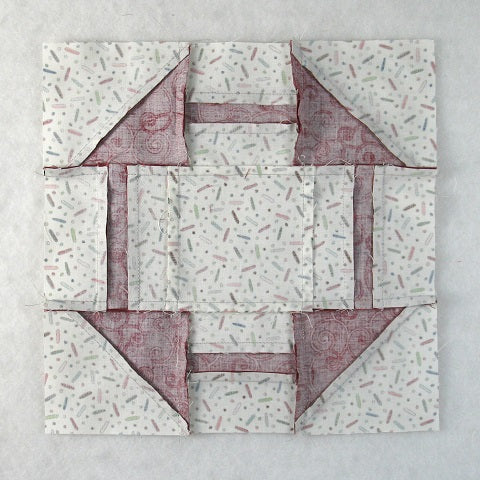
Putting It All Together:
Step 5:
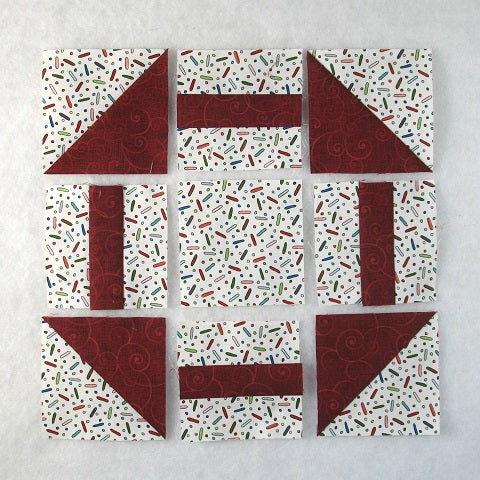
Step 6:
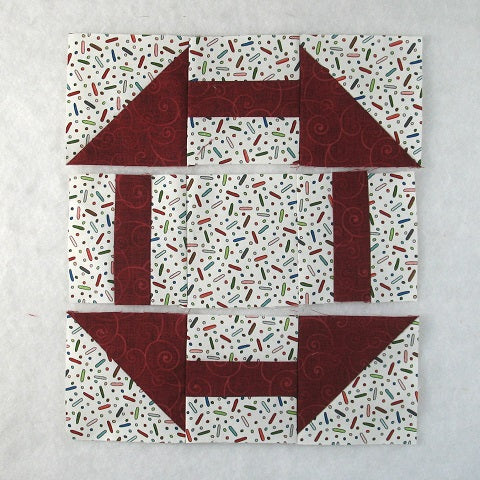
Step 7:
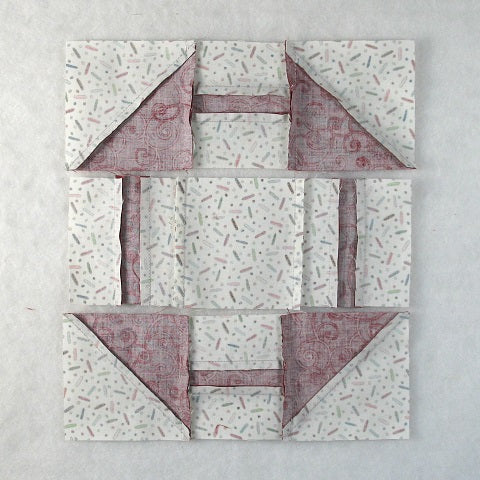
Step 8:
Step 9:
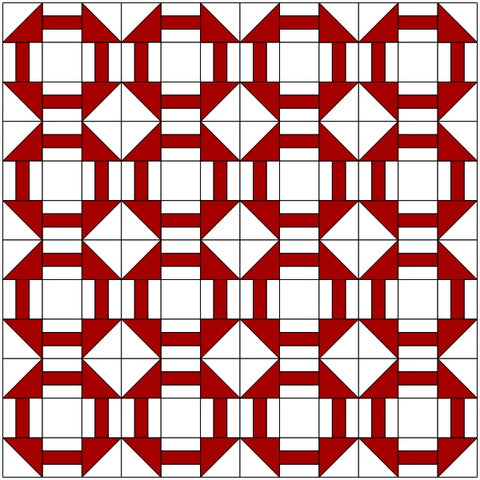
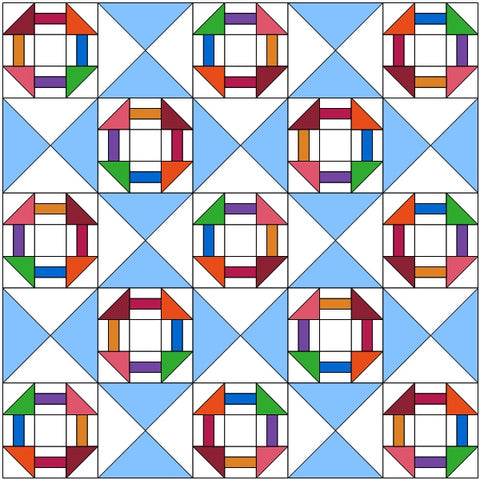
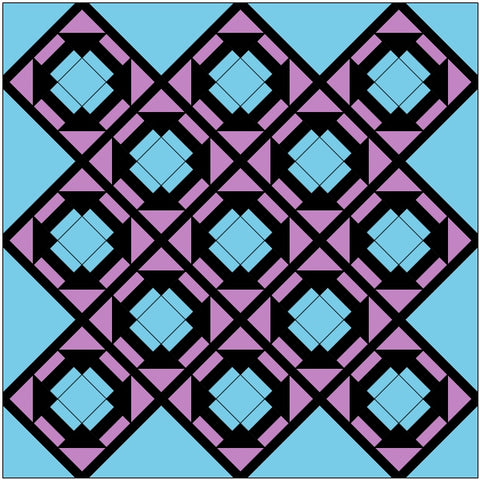
Layout Ideas:


Conclusion:
I hope you have enjoyed this tutorial. If you like it and want to see more, just click HERE to sign up for my newsletter and receive a free PDF quilt pattern called "Chained Weathervane".
Happy Quilting!
Elaine
P.S. Looking for more beginner-friendly blocks? Take a look at these blocks: https://fabric406.com/blogs/fabric406-blog/30-easy-quilt-block-tutorials-for-the-beginning-quilter
P.P.S. Check out my patterns I have for sale on Etsy at https://www.etsy.com/shop/fabric406