Free Pattern – Braced Star Quilt Block
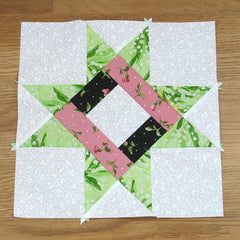
Today let’s sew together a Braced Star quilt block! It finishes at 12″ and goes together on a diagonal grid. I also have several layout ideas toward the end of the post to help spark your inspiration. Let’s get started!
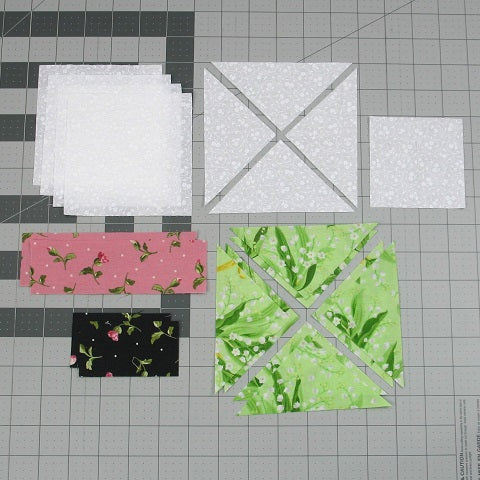
Fabric Requirements for a 12" Finished Braced Star Quilt Block:
- Light/White: 4 – 4.5″ squares, 1 – 5.25″ square cut in half diagonally twice for a total of 4 triangles, 1 – 3+3/8″ square
- Medium/Pink: 2 – 1+7/8″ x 6+1/8″ rectangle
- Medium/Green: 2 – 5.25″ square cut in half diagonally twice for a total of 8 triangles
- Dark/Black: 2 – 1+7/8″ x 3+3/8″ rectangles
I recommend that you spray starch all the triangle patches to help prevent stretching when sewing them into the quilt block.
Sewing Directions:
Center Unit:
The center unit is basically the beginning of a Courthouse Steps block. You can find my tutorial on the Courthouse Steps block at https://fabric-406.myshopify.com/blogs/fabric406-blog/how-to-sew-a-courthouse-steps-quilt-block
Step 1:
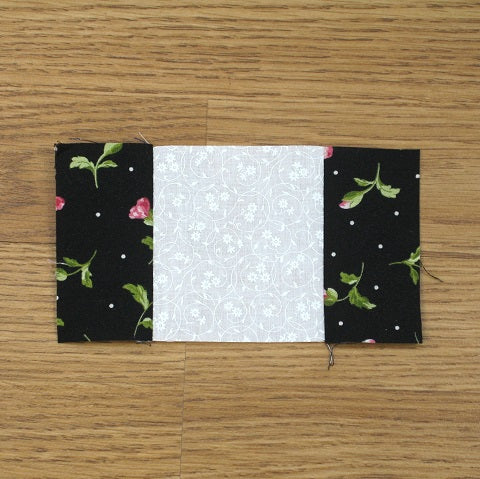
First you need to sew the two Dark/Black 1+7/8″ x 3+3/8″ rectangles to opposite sides of the Light/White 3+3/8″ square as shown in the picture below.
Step 2:
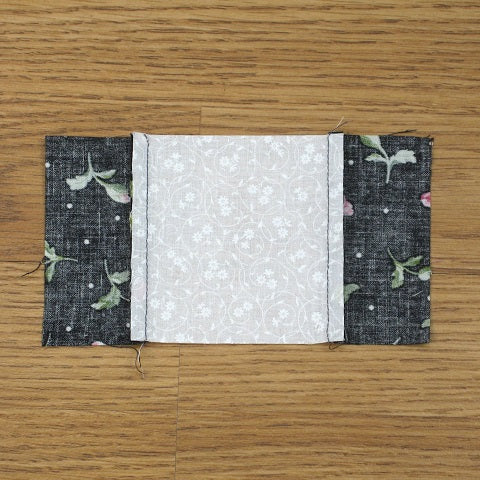
And press the seam allowances toward the Dark/Black fabric.
Step 3:
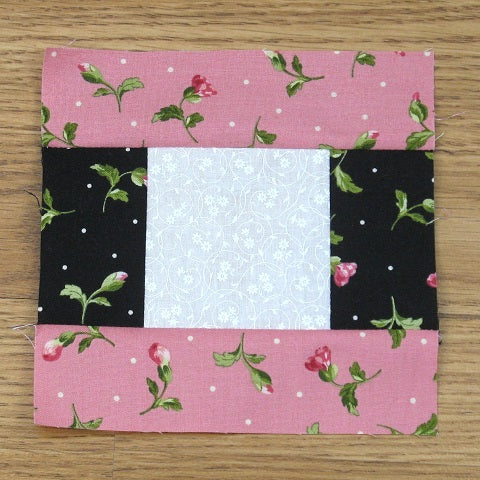
Next you will sew the two Medium/Pink 1+7/8″ x 6+1/8″ rectangles to the long sides of the unit as shown below, and …
Step 4:
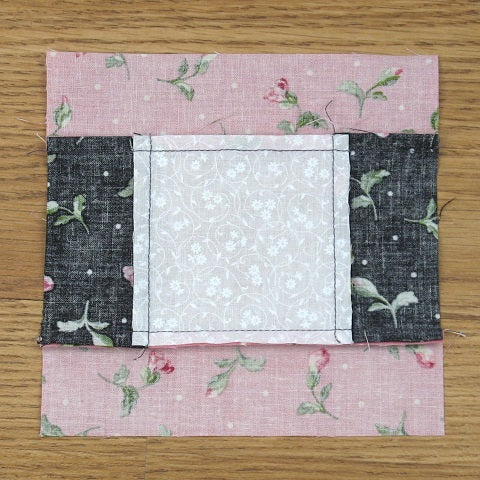
Press the seam allowances toward the Medium/Pink fabric.
Five-Sided Unit:
Step 5:
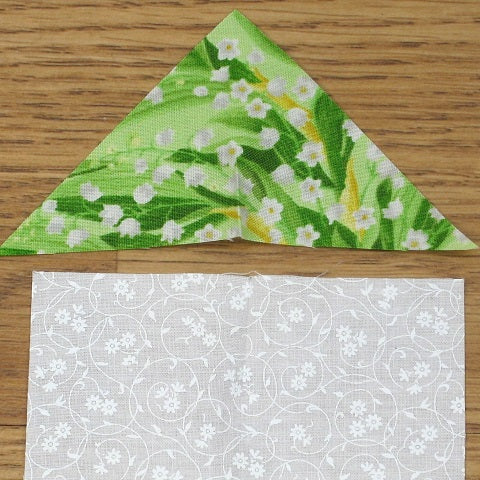
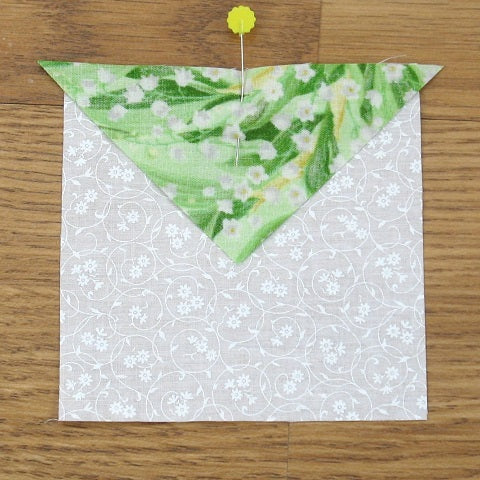
The first step in making this unit is to find the center of the long side of the Medium/Green triangles and the Light/White 4.5″ squares. Here you can see that I simply folded the patches and finger-pressed a crease at the center. I folded the Medium/Green patch wrong sides together and the Light/White patch right sides together so that when you match them up …
Step 6:
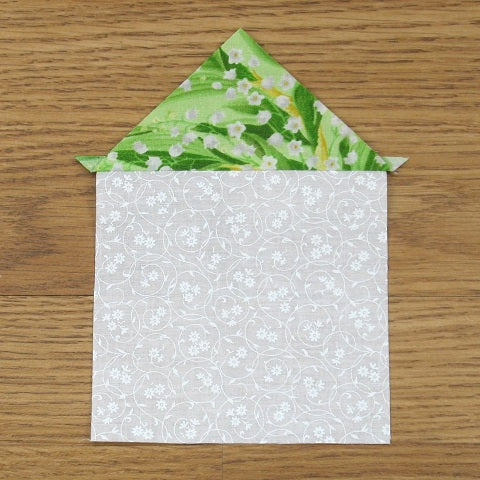
Stitch the two patches together and…
Step 7:
Press the seam allowance toward the Medium/Green triangle.

Step 8:
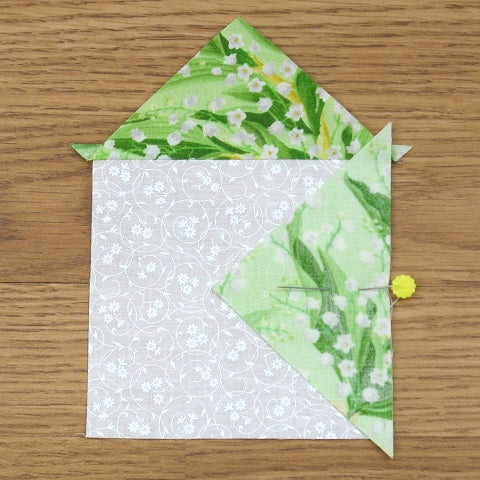
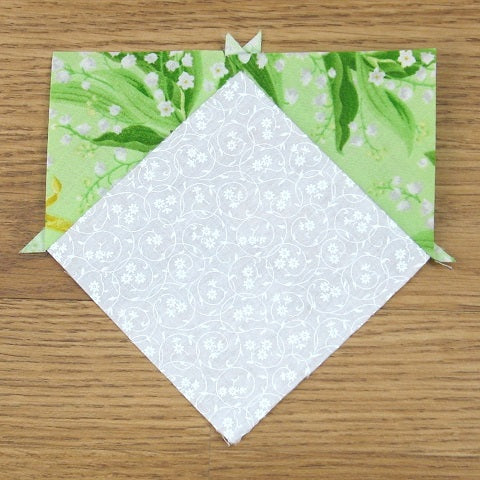
Using another Medium/Green triangle, you’re going to match up the center of it with the center of an adjacent side of the Light/White square.
Step 9:
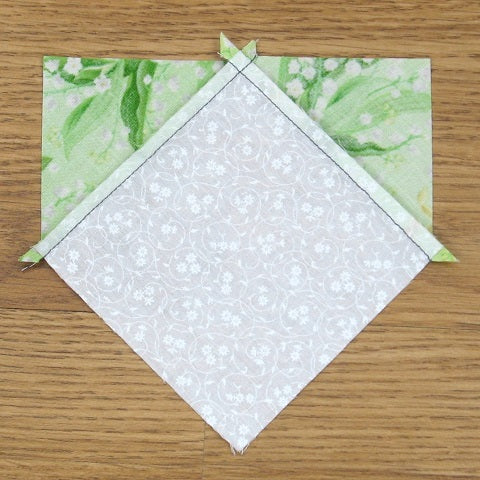
Stitch the Medium/Green triangle to the Light/White square as shown below and…
Step 10:
Press the seam allowance toward the Medium/Green triangle. Repeat to make a total of 4 Five-Sided units.
Triangle Unit:
Step 11:
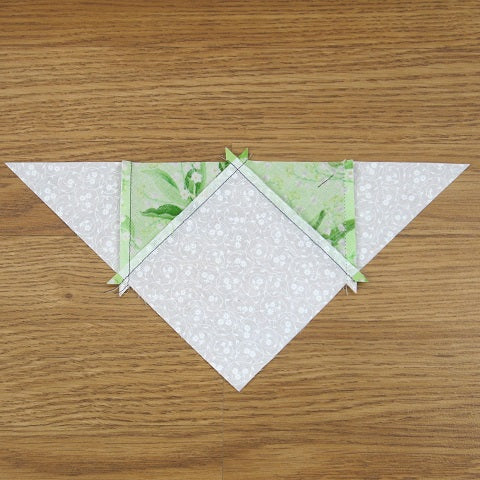
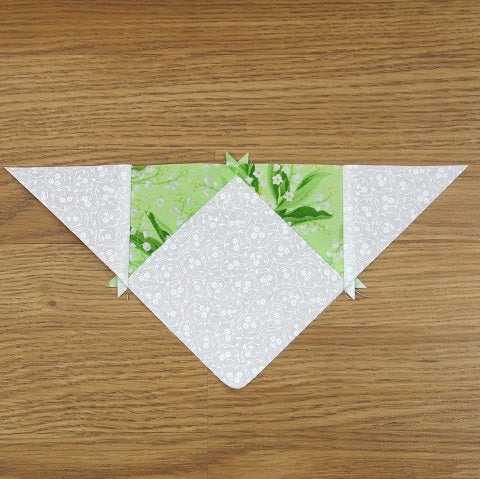
Next you will need to sew two Light/White triangles to the Five-Sided unit as shown in the picture below.
Step 12:
Putting It All Together:
Step 13:
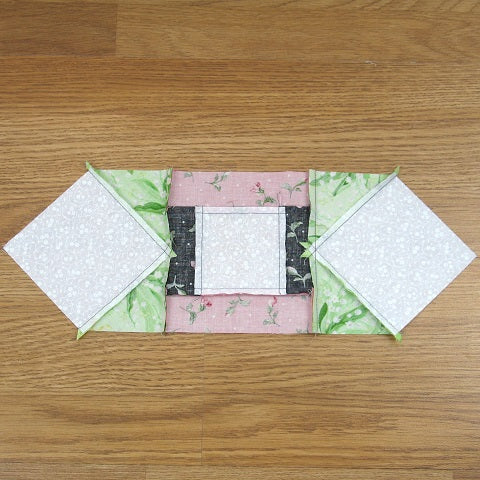
Sew two of the Five-Sided units to opposite sides of the Center unit as shown in the picture below.

Step 14:
Press the seam allowances toward the Center unit as shown below.
Step 15:
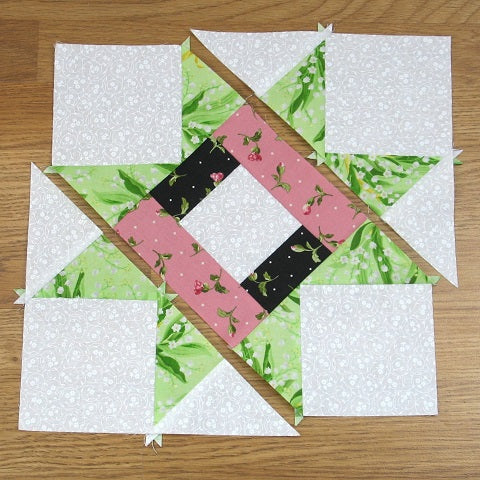
Almost there! Now you can lay out the unit you just made and the two Triangle units in diagonal rows as shown in the picture below.
Step 16:
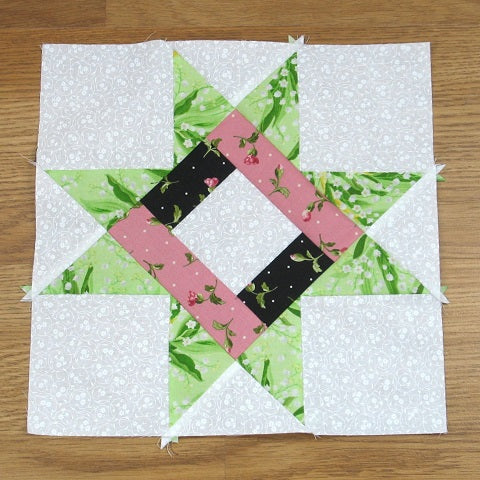
Match up the seams – they should nest together nicely – and sew the rows together. I had to do a little bit of easing on one of the seams to get it to match up but it isn’t noticeable at all.
Step 17:
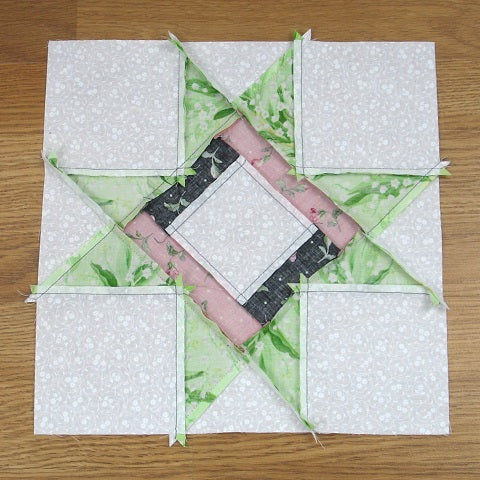
Press the seam allowances toward the center of the block as shown in the picture below. All Done!
Layout Ideas:
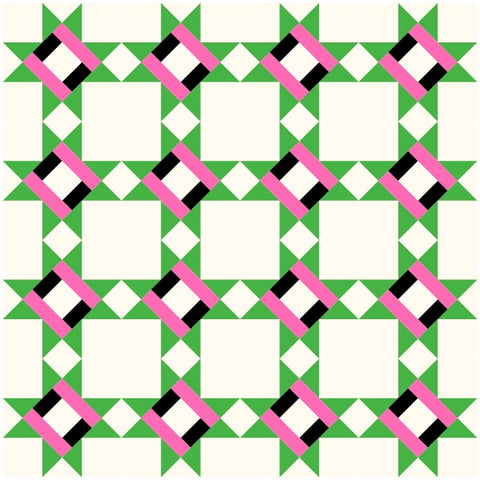
Here's the typical 4 x 4 layout using colors similar to the ones I used in my block. You could do some fancy quilting in the large background square or maybe embroidery/applique.
This version has sashing and cornerstones added:
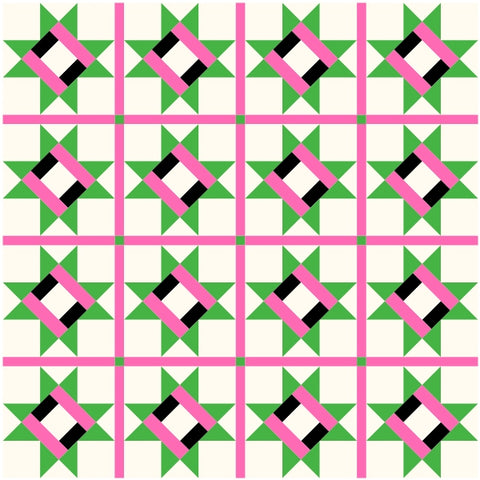
Here are some ideas for using an alternating block.

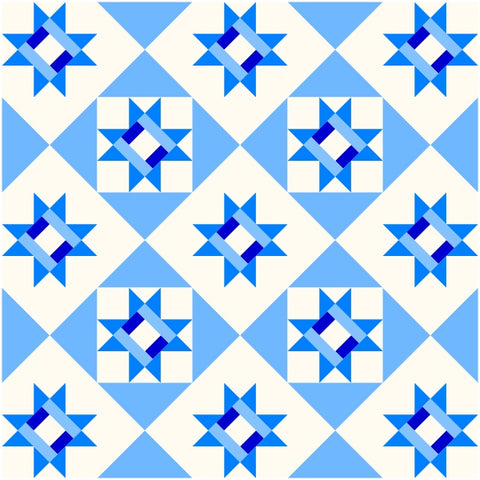
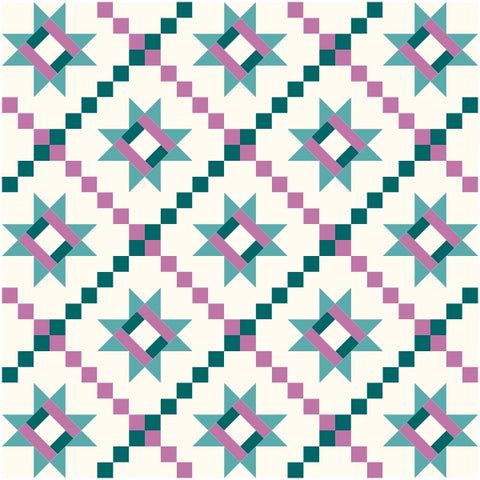
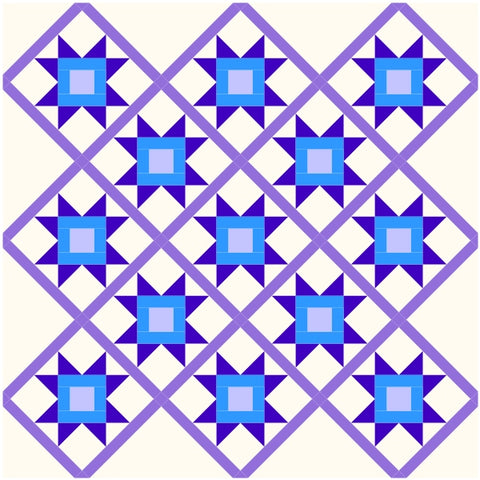
And here are some examples of on-point layout possibilities:
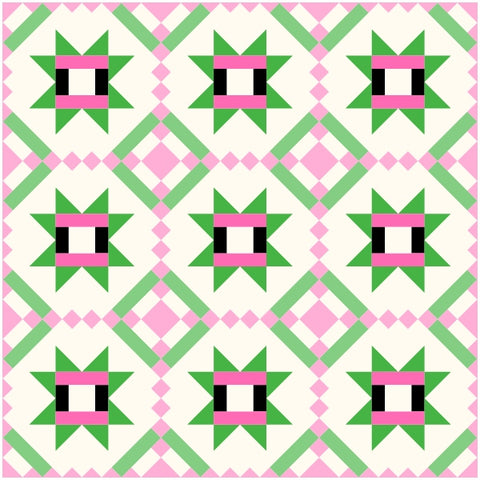
In Conclusion:
This was a fun block to put together. Because it is set on the diagonal, you have to deal with bias edges and funky-sized patches. But it went together easily and I’m happy with how it turned out.
I hope you give this Braced Star quilt block a try! If you like this tutorial and want to see more, just click HERE to sign up for my newsletter and receive a free PDF quilt pattern called "Chained Weathervane".
Happy Quilting!
Elaine
P.S. Looking for more star blocks? Check out this roundup post: https://fabric406.com/blogs/fabric406-blog/30-of-the-best-star-quilt-block-patterns
