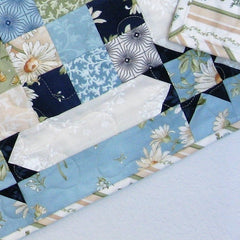
How to Make Striped Bias Binding for Your Next Quilt
Diagonally striped binding looks great on a quilt but unless you have diagonally striped fabric, bias binding is in order.
Today we'll look at how I made my striped bias binding for a recent quilt. There are several methods for creating the binding strips, this is just one way. Let's get started!
Cutting the Strips:
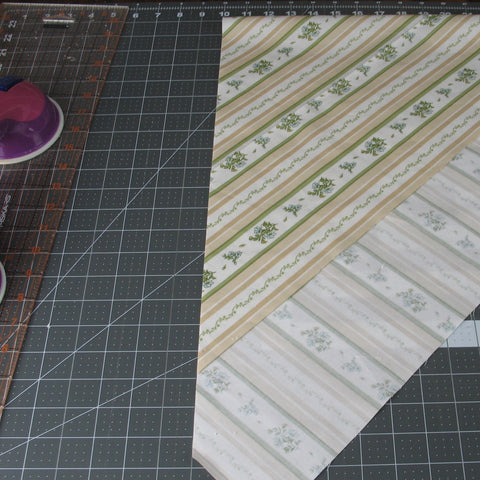
Folding Your Fabric:
Normally you would fold your fabric selvage to selvage. For bias strips, you need to fold one selvage edge to the cut edge of the fabric at a 45 degree angle. Make your first cut close to the edge of the fold. In the picture below I've already cut a few strips.
Piecing the Strips:
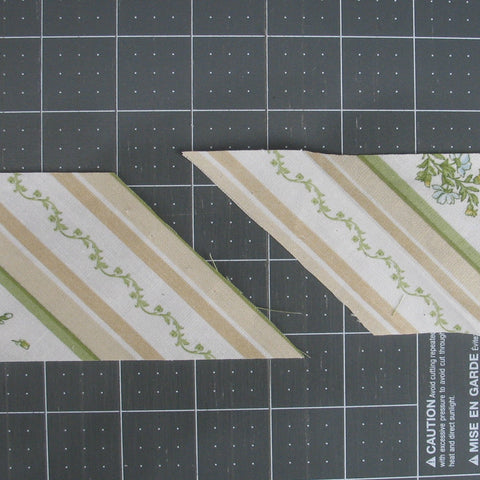
Step 1:
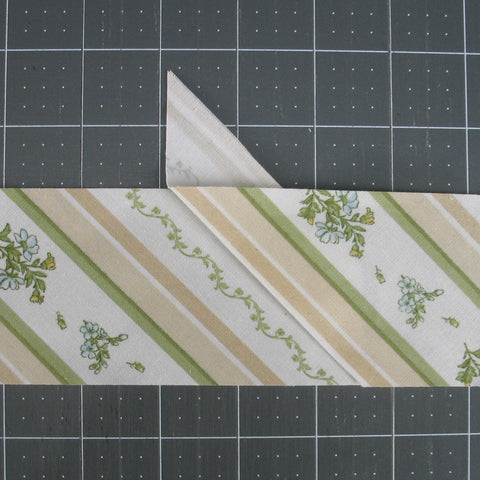
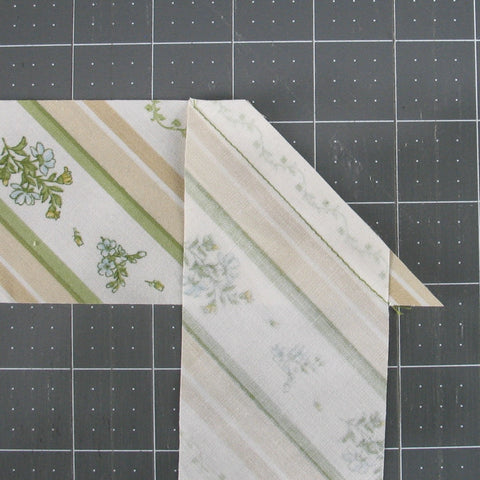
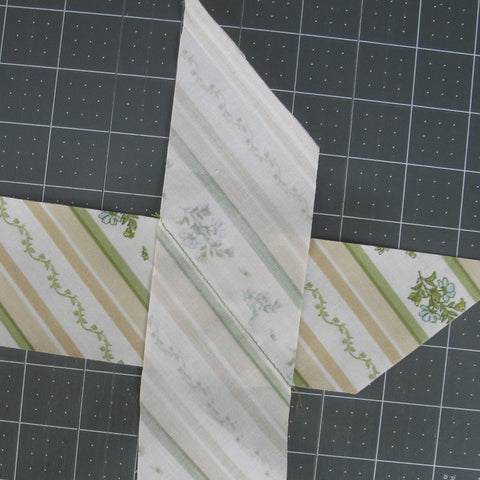
In the case of my fabric, it has a wide repeat of the stripes. I could've ignored the repeat and it would have been fine, but I wanted to take the extra time to match up the repeats. In the picture below you can see that if I just sewed the pieces together I would have two of the little vine stripes close together.
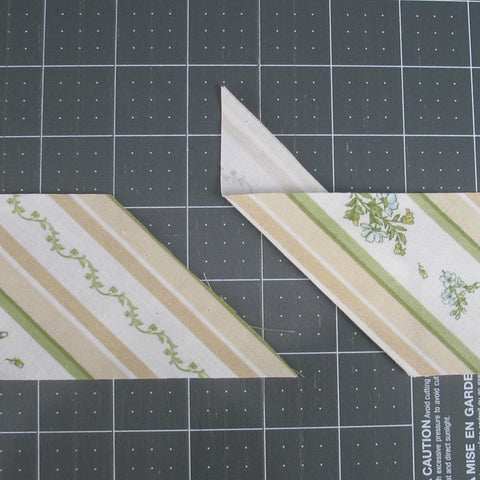
Step 2:
You'll want to decide where you want the seam to land in the binding strip. I decided I wanted to join the strips in the white area in the little vine stripe - it should be less noticeable there especially if I don't sew real straight. Here you can see that I've folded back the right strip leaving a little white showing and finger pressed it.
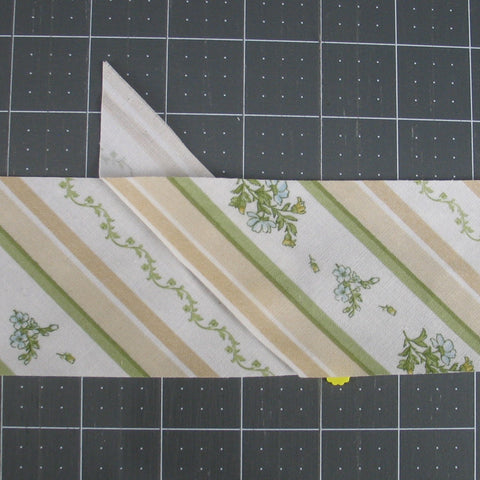
Step 3:
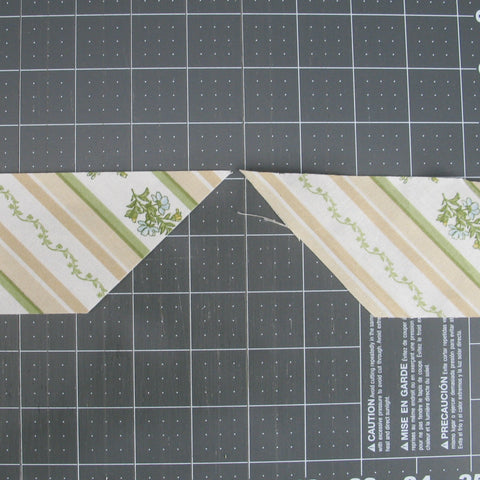
Next you lay the folded edge on top of the left strip matching up the stripes.
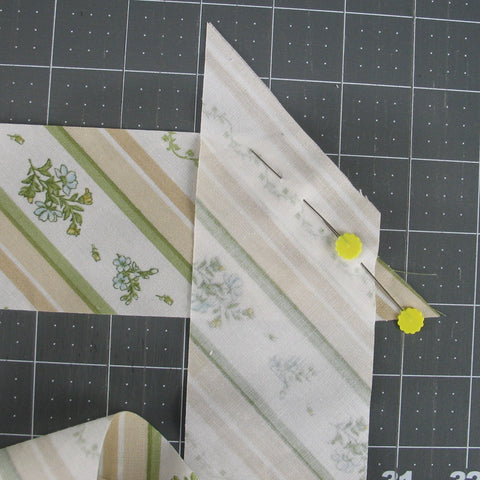
Step 4:
Being careful not to dislodge the placement, open the right binding strip and pin in the seam allowance as shown in the picture below.
Step 5:
Check to make sure the pieces still match up right.
Step 6:
Now you can sew the two strips together along the crease you made in Step 3.

Step 7:
Check one more time to make sure it's in the right spot.
Step 8:
Now you can trim the seam allowance to approximately 1/2" as shown in the picture below. Repeat this process (Steps 3 through 9) to join all your strips. Yeah, I know it's tedious - but worth it in the end!
Step 9:
Press the seam allowances open.

Step 10:
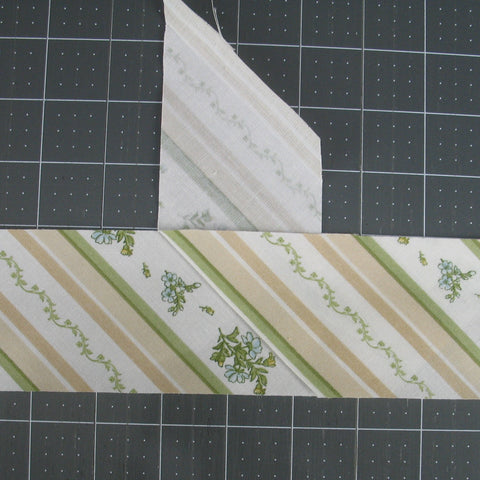
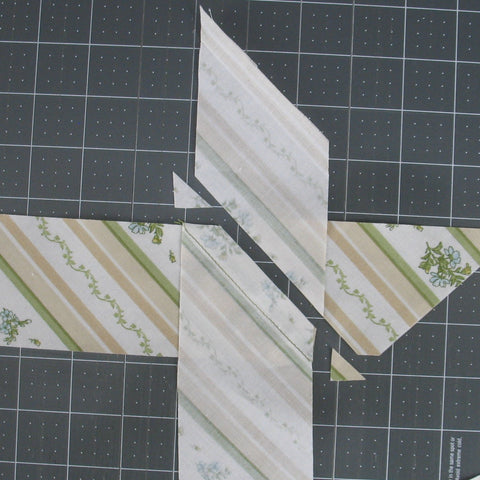
Of course, not all of your strips are going to be cut in the same direction.
Step 11:
Follow the same steps as before - you'll just have longer tails to deal with. Here you can see that I've finger pressed the right strip and matched it up with the left strip. Also I put the seam allowance in the floral strip to conserve a bit of fabric.
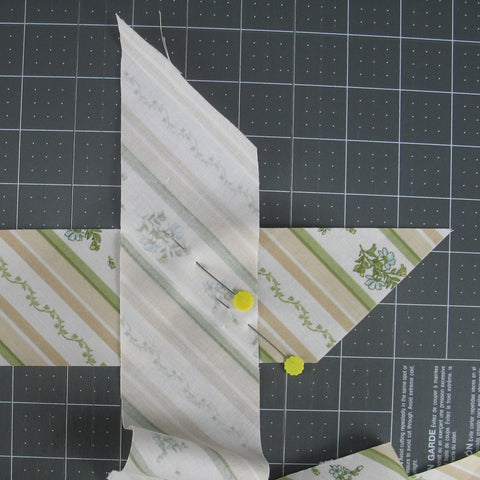
Step 12:
All pinned and ready to sew!
Step 15:
Stitched in place.
Step 14:
Here you can see how I trimmed off the seam allowance.
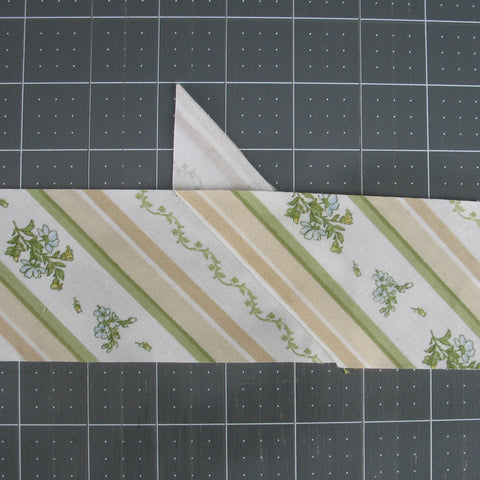
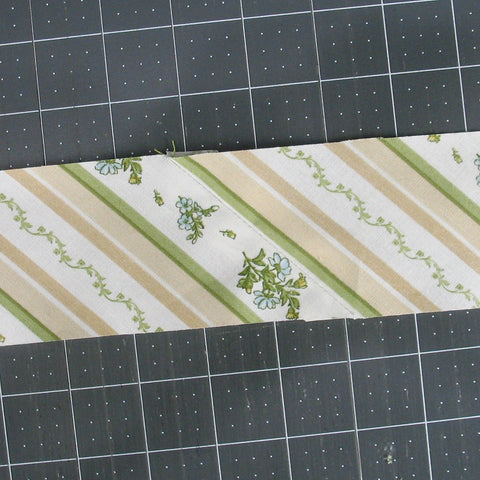
Step 15:
Barely noticeable. So the only seam that will be off is where the two ends are joined when sewn to the quilt.

Tips for Sewing Bias Binding to Your Quilt:
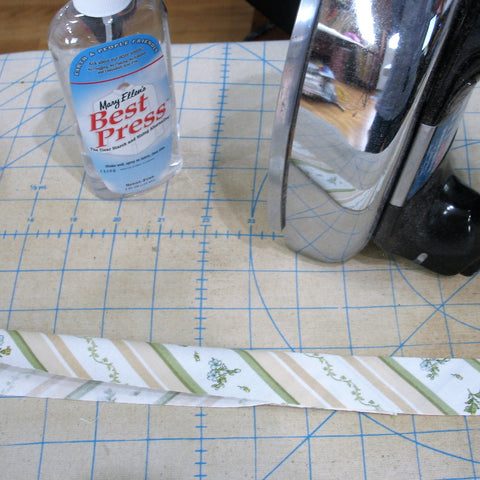
Pressing:
So bias binding will stretch (that's what makes it so wonderful for curved edges). But since I'm applying the binding to a straight edged quilt, I wanted to stabilize the binding as much as possible. I used a heavy amount of Best Press when I pressed the binding in half. Normally, I would just use the spray starch I make up because it has a heavier hold than Best Press but I had the Best Press handy.
Bundle of Binding:
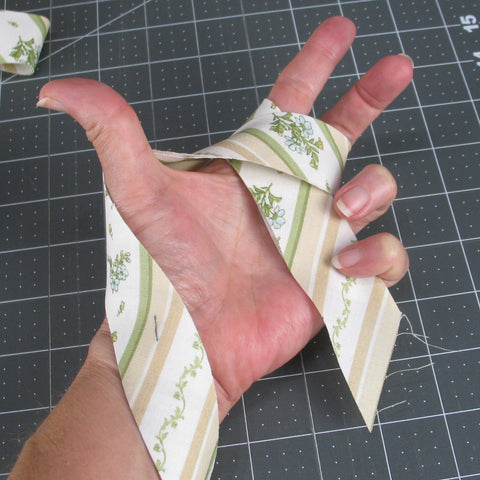
I have this trick for keeping the binding strip at bay while sewing it to the quilt. I saw how the lady at Joann's wrapped up a long length of lace and the light bulb went on - I could do that for binding too! I hold the tail with my pinkie and ring finger and wrap the binding around my pointer and middle finger in a clockwise direction.
I then wrap the binding around my thumb in a counterclockwise direction and repeat. You'll be making a figure 8 pattern between your fingers and thumb.
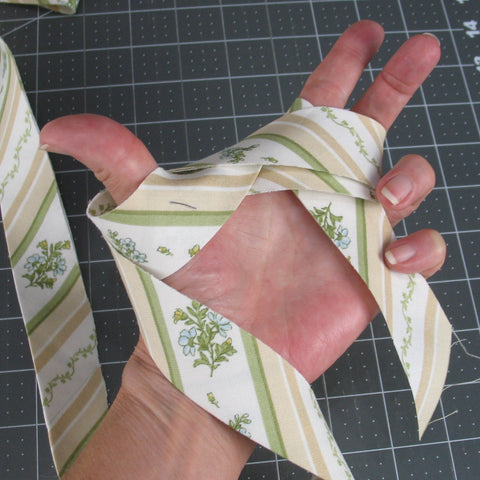
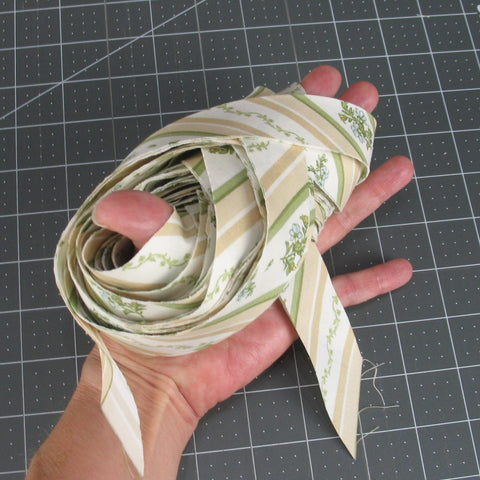
Keep going until you've wrapped up the entire length of binding.
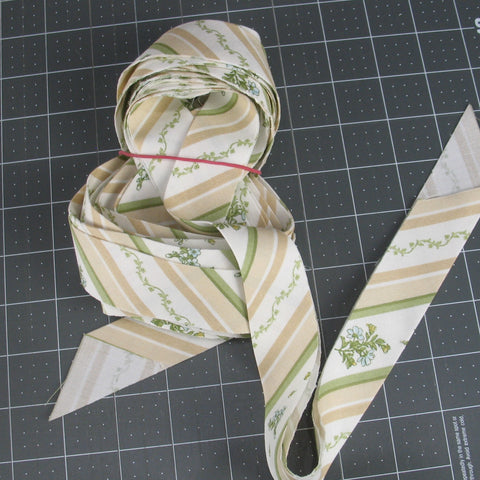
Now you put a loose rubber band around the bundle of binding (this one was a little too loose and the rubber band fell off too soon). Use the bundle from the inside, pulling the binding out as needed while you sew the binding to your quilt. I keep the bundle in my lap or loosely held between my knees. It sure helps keep that long length of binding under control!
Sewing Striped Bias Binding to Your Quilt:
If you have a walking foot for your sewing machine, use it for applying the bias binding. Actually, I use it for all my binding - no pinning needed except at the corners.
If you don't have a walking foot, you'll need to pin the bias binding to your quilt, making sure not to stretch it as you sew.
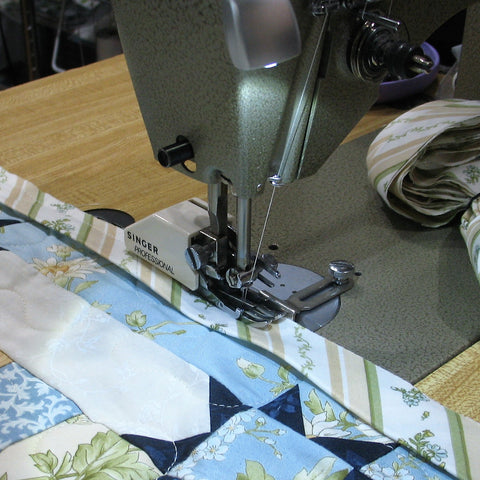
So you get to see part of my workhorse sewing machine in the picture above. It is a Singer light industrial and was made sometime in the 1950's or 60's. I like to use it for applying borders and binding and for sewing blocks together. It goes really fast so I don't use it for piecing blocks though. Love this old girl!
I hope you found this tutorial for making striped bias binding interesting and/or helpful.
If you liked this post and want to see more quilting tutorials like this, simply click here to sign up for my newsletter and also receive a free PDF quilt pattern called Chained Weathervane.
Happy Quilting!
Elaine