How to Make the Traditional Four Squares Quilt Block - a Free Tutorial
Let's take a look at this classic quilt block called Four Squares. It is fairly easy with just squares, rectangles and flying geese components and creates a secondary star design when multiple blocks are sewn together. I always like blocks that make secondary designs!

Fabric Requirements for a 12" Finished Four Squares Quilt Block:
- Light/White: 1 - 4.5" square, 4 - 2.5" x 4.5" rectangles, and 12 - 2.5" squares
- Medium/Green: 4 - 2.5" x 4.5" rectangles
- Medium/Blue: 4 - 2.5" x 4.5" rectangles, and 12 - 2.5" squares
- To make four blocks, you will need approximately 1/2 yard each of the white and blue, and 1/4 yard of the green

Sewing Directions:
Corner Units:
Step 1:
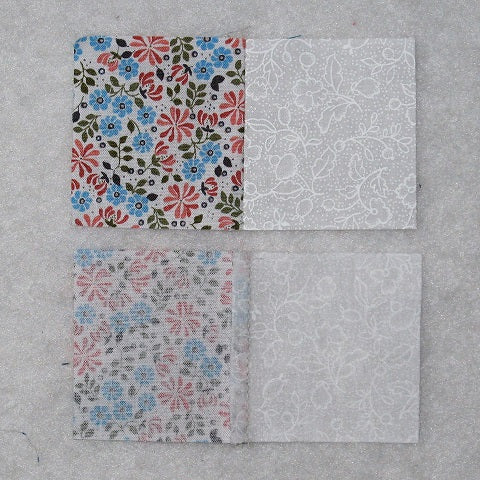
Sew a Light/White 2.5" square and a Medium/Blue 2.5" square together and press the seam allowance away from the Light/White square as shown in the picture below.
Step 2:
Using the picture below as a reference, sew a Medium/Blue 2.5" x 4.5" rectangle to the Step 1 unit. Press the seam allowance toward the Medium/Blue rectangle.

Step 3:
Repeat Steps 1 and 2 for a total of four Corner units. Easy peasy!

Flying Geese Units:
Step 4:
Using a Light/White 2.5" x 4.5" rectangle and two Medium/Blue 2.5" squares, make a Flying Geese patch. For a detailed step-by-step tutorial for making a basic Flying Geese block using my no-trim method, check out the blog post at https://fabric406.com/blogs/fabric406-blog/how-to-sew-a-basic-flying-geese-block. In the picture below you can see the first four steps.

Step 5:
And here is a picture showing the last steps to complete the Flying Geese patch.

Step 6:
Repeat Steps 4 and 5 for a total of four White/Blue Flying Geese patches as shown in the picture below.

Step 7:
Repeat Steps 4 through 6 using the Medium/Green 2.5" x 4.5" rectangles and Light/White 2.5" squares.

Step 8:
Here you can see all eight of the Flying Geese patches.

Step 9:
Match up a White/Blue Flying Geese patch with a White/Green Flying Geese patch as shown in the picture below. Stitch the patches together and press the seam allowance toward the White/Green Flying Geese patch.

Step 10:
Repeat Step 9 for a total four Flying Geese units like the ones shown below.


Putting It All Together:
Step 11:
Layout the Corner units, the Flying Geese units, and the Light/White 4.5" square as shown in the picture below. From here the block goes together like a basic Nine Patch block.

Step 12:
Sew the units together into three rows as shown below.

Step 13:
Press the seam allowances away from the Flying Geese units as shown in the picture below.

Step 14:
Complete the Four Square block by sewing the three rows together.

Step 15:
Press the seam allowance toward the center of the block. All done!

Layout Options:
Here's the basic 4 x 4 layout with just a light and a dark fabric (the traditional block only used two fabrics).

And here it is with three colors similar to the sample block I made. I think this makes the star more prominent.

And here is the same layout but with a narrow 1" sashing and cornerstones added.

Here's a typical on-point layout. I love how things change when put on point!

For this on-point layout, the setting triangles are the light-colored fabric and a narrow sashing and cornerstones were added.

I added in more colors with this example. Kind of creates a three-dimensional look. I think this is my favorite!

Conclusion:
It took me awhile to figure out where the "four squares" comes from but then I saw that the design is basically a square in a square in a square in a square. The block below shows that off well. The center light blue square, the medium blue diamond, the light purple square, and then the entire block is the fourth square.

I can see myself making a quilt with this block. I would probably use the five-color version of the block because I like the three-dimensional look it gives. (And I could use some of those light colored prints in my stash!)
I hope you have enjoyed this tutorial. If you like it and want to see more, just click HERE to sign up for my newsletter and receive a free PDF quilt pattern called "Chained Weathervane".
Happy Quilting!
Elaine
P.S. In case you missed it, check out my roundup post of easy quilt blocks at https://fabric406.com/blogs/fabric406-blog/30-easy-quilt-block-tutorials-for-the-beginning-quilter
P.P.S. Check out my patterns I have for sale on Etsy at https://www.etsy.com/shop/fabric406